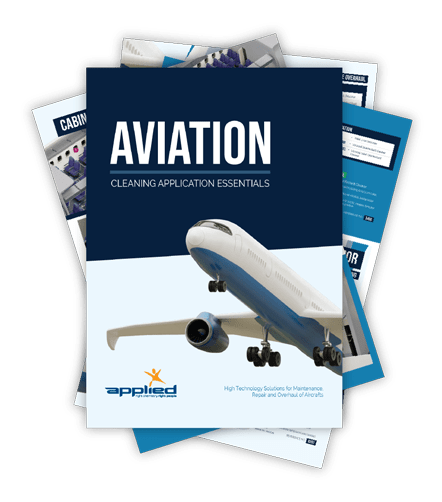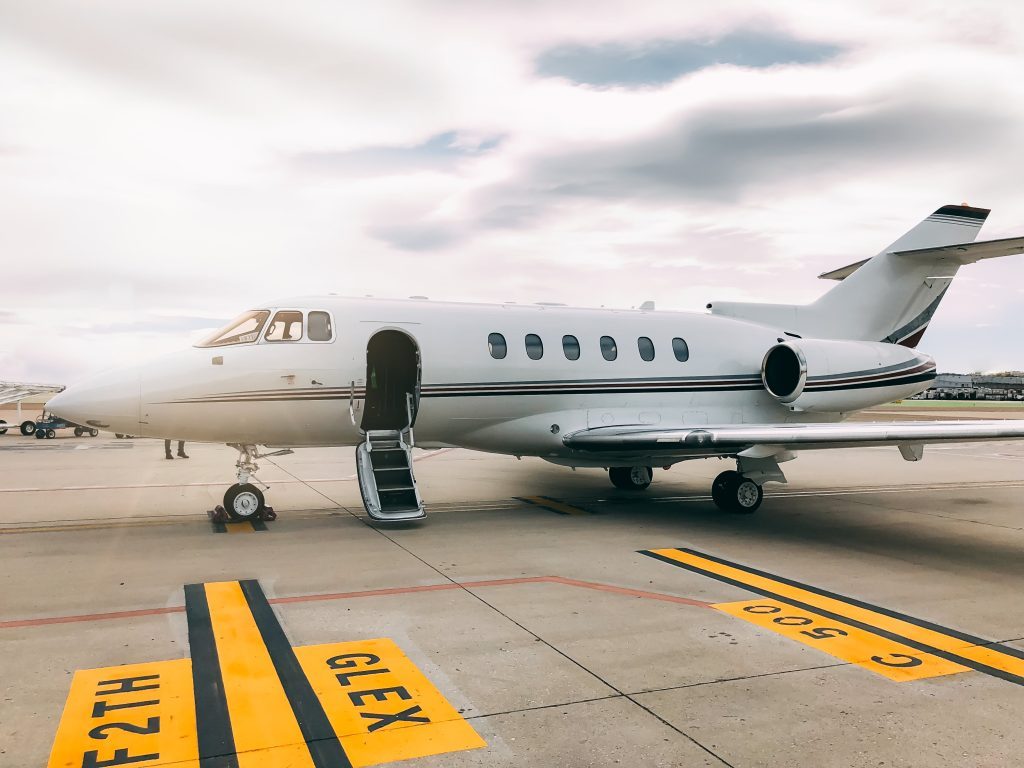
Private jets epitomise luxury and exclusivity in the world of travel, offering unparalleled comfort, privacy, and convenience for their elite passengers. However, behind the scenes of this extravagant mode of transportation lies a vital aspect that ensures utmost satisfaction and safety: meticulous cleaning procedures. The private jet cleaning process goes beyond regular maintenance, involving a careful and detailed approach to maintain the aircraft’s immaculate condition. This article explores the world of private jet cleaning, providing a comprehensive checklist outlining the key tasks and considerations involved. Whether you’re involved in the aviation industry or have a vested interest in private jet travel, this article equips you with the knowledge to appreciate and implement the rigorous cleaning process, ensuring an exceptional travel experience for all.
Developing an Efficient Cleaning Approach
When cleaning narrow-bodied aircraft, adopting a systematic approach that maximises efficiency and minimises redundancy is crucial. The One Direction Approach is highly recommended, ensuring a logical sequence for cabin tidying and restroom/bathroom cleaning. Following this approach, you begin at the back of the aircraft and progress towards the front while tidying up the cabin. Similarly, when cleaning the restroom/bathroom, start from the top and work your way downward. This approach enables a smooth handover of responsibilities if another flight attendant or the pilot offers assistance, as they can easily identify the ongoing cleaning progress.

Moreover, implementing a One Direction Approach based on workflow analysis significantly improves efficiency. You can streamline the cleaning process by avoiding repetitive steps or unnecessary back-and-forth movement, saving time and effort. This approach allows you to maintain a consistent flow, thoroughly cleaning each area without unnecessary delays or overlapping tasks.
Cleaning Procedures for Different Surfaces
Hard Surfaces
When cleaning non-absorbent surfaces, such as countertops or tray tables, utilise a natural sponge or a clean low-lint cloth. Moisten the sponge or cloth with an appropriate disinfectant solution. Allow the disinfectant to sit on the surface for two minutes, eliminating germs or bacteria. Next, using a separate low-lint cloth moistened with water, remove the disinfectant from the surface. Finally, thoroughly dry the hard surfaces using another low-lint cloth.
Soft Surfaces
A spray applicator is recommended for soft surfaces, such as carpets, upholstery, or leather seating. Apply a wide-set spray mist of disinfectant using the spray applicator, ensuring not to oversaturate the material. Allow the disinfectant to naturally air dry, ensuring it remains in contact with the surface for the required duration. In the case of leather surfaces, if necessary, gently dry wipe with a low-lint cloth after the disinfectant has dried completely.
Jet Cleaning Considerations
Mirror/Windows Cleaning Technique
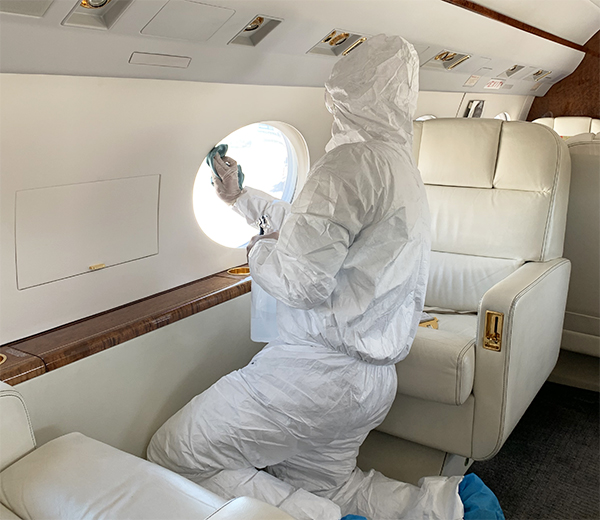
When cleaning a mirror, it’s best to start from the top and work your way down. To do this, you’ll need two pieces of cloth, ideally made of microfiber. Use a spray atomiser to apply the detergent to the mirror or glass surface. Next, use the first cloth to wipe the surface clean. Follow up with the second, dry cloth to buff the surface in circular motions, ensuring no residue or dirt is left behind. If you prefer, you can also use a window squeegee.
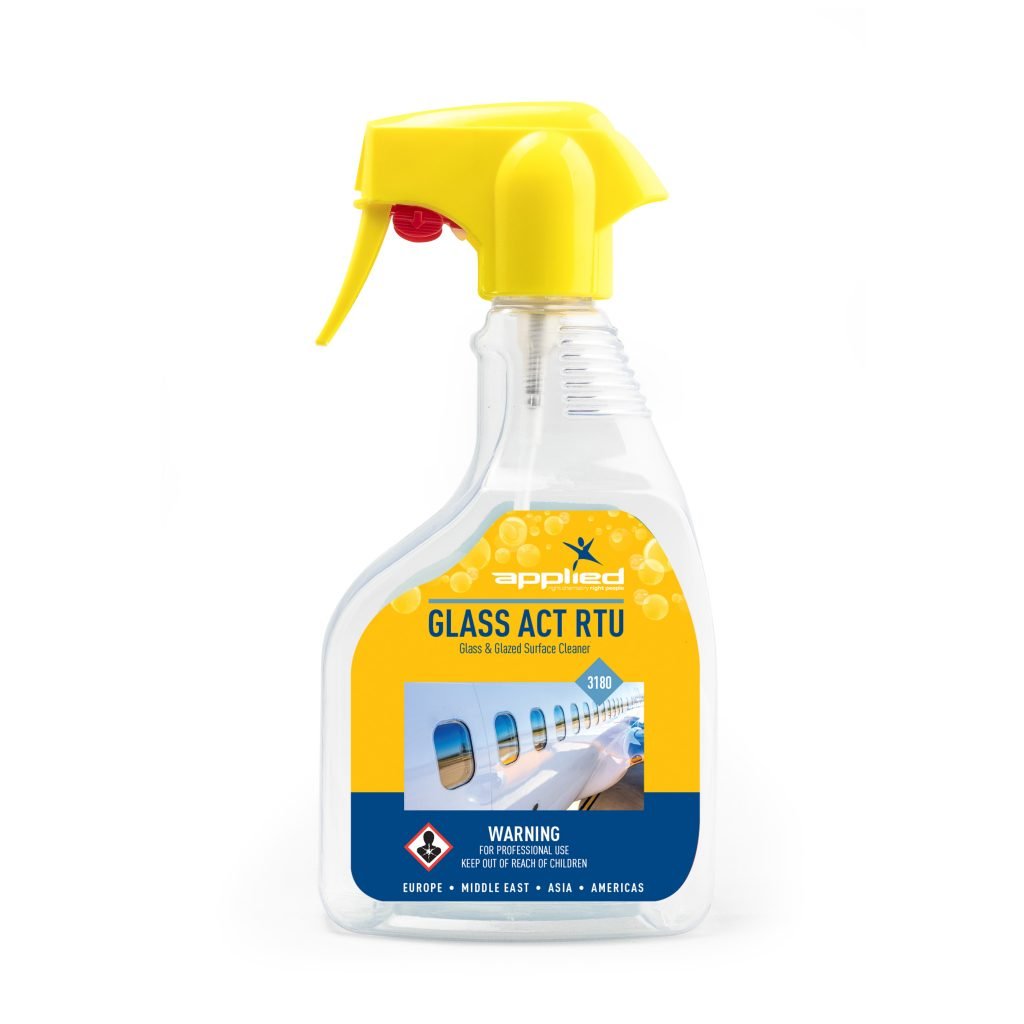
ORAPI RECOMMENDS:
GLASS ACT is an ammonia-free, non-streaking mirror and window cleaner.
GLASS ACT penetrates quickly to lift and dissolve dirt deposits, weather and smoke films, oily stains, insect remains, smudges and fingerprints from glass and glazed surfaces.
It is ideal for cleaning windows, doors, display cases, aircraft windshields, and other indoor and outdoor glass surfaces.
Dusting
Once again, employing the Top to Down technique. Since dust settles downward, it’s important to avoid redoing steps in the cleaning process. Thus, always begin by cleaning higher surfaces and working your way down, leaving the carpet for last. When dusting the credenza, it’s essential to not only clean the surface but also thoroughly dust and wipe down each item displayed on top of it.
Vacuuming
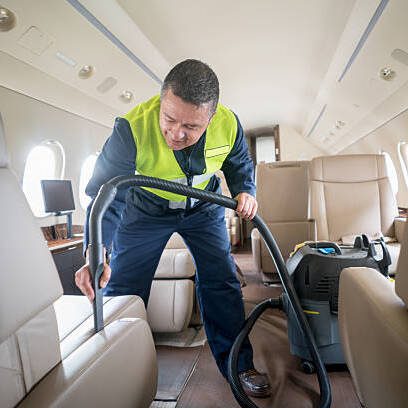
Vacuuming becomes an extension of yourself as you navigate the entire cabin with the vacuum machine. Its reach goes beyond the carpets, encompassing the seats as well. Use the various attachments that come with the vacuum, and be sure to differentiate the ones used for the divans and seats and carpets to ensure cleanliness. Even the most superior vacuums can experience clogging, so it’s essential to periodically examine your vacuum and clean the brushes. By upholding proper maintenance practices, you’ll make vacuuming a breeze while maximising its efficiency.
Faucets/Toilets
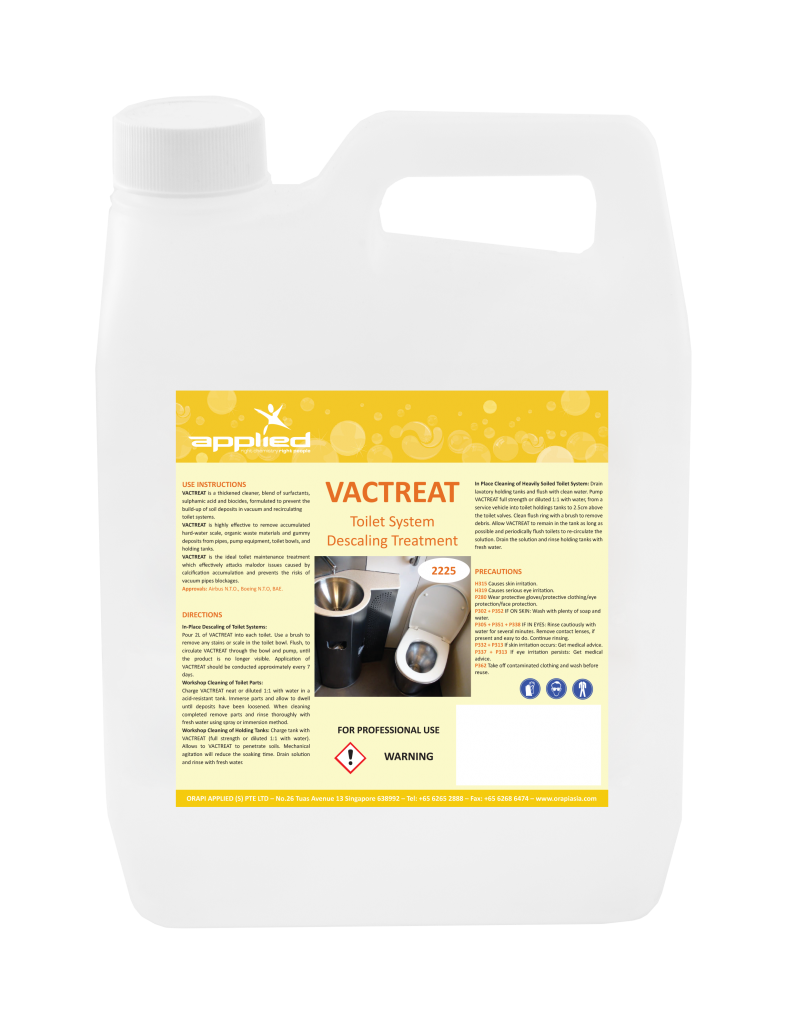
When cleaning faucets and toilets, it’s important to take certain precautions to ensure a thorough and safe cleaning process. Firstly, avoid using tough scrubbing pads that can potentially leave scratches on metal surfaces. To maintain jet vacuum and recirculating systems, regular maintenance checks should be conducted to identify and address any leaks or blockages. It is also crucial to utilise specific detergents that prevent the build-up of soil deposits in these systems, including hard-water scale, organic waste materials, and gummy deposits from pipes, pump equipment, toilet bowls, and lavatory holding tanks. When cleaning faucets, use an effective disinfectant cleaner and spray and wipe them down. For hard-to-reach areas, such as small gaps, utilise Q-Tips to ensure no spots go unnoticed. Lastly, remember to thoroughly dry every surface before completing the cleaning process.
ORAPI RECOMMENDS:
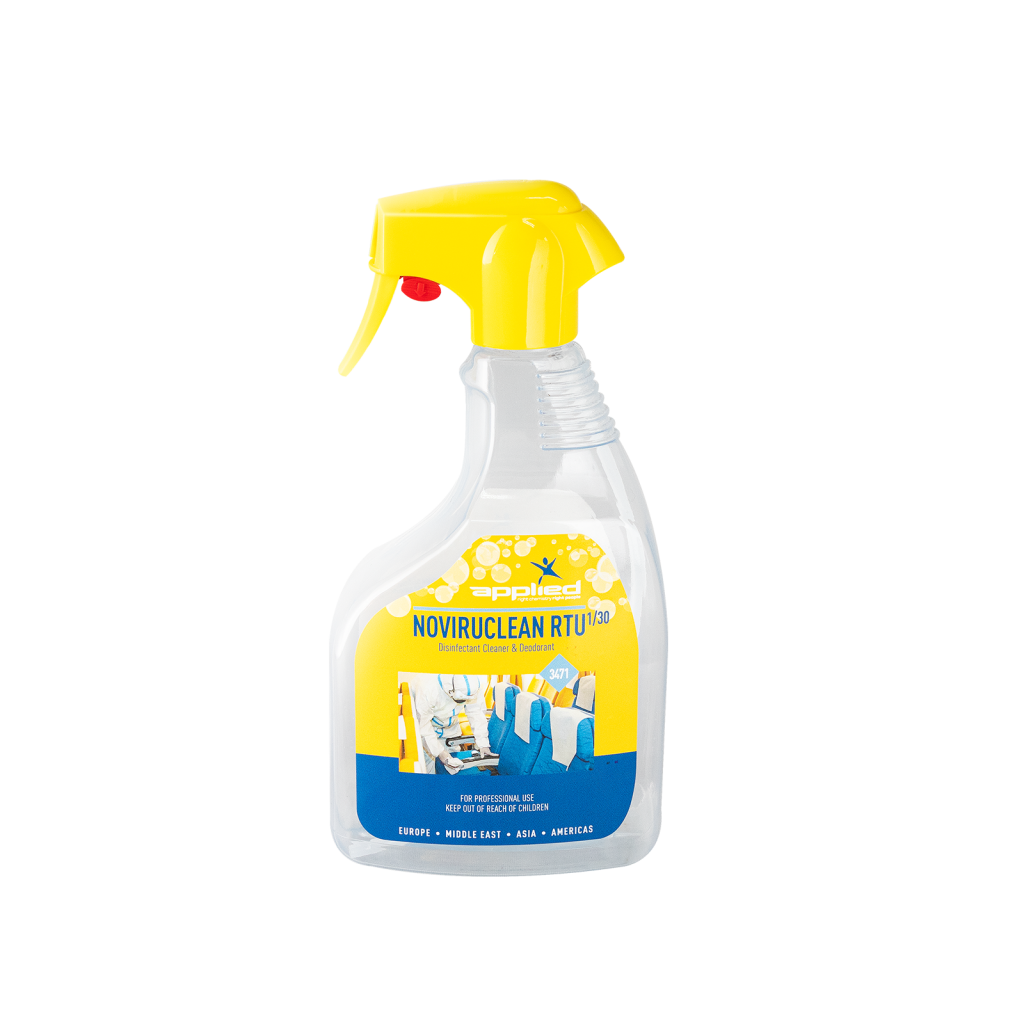
ORAPI RECOMMENDS:
NOVIRUCLEAN RTU1/30 is an ultra-broad spectrum bactericidal, yeasticidal, and viricidal spray & wipe disinfectant cleaner that is effective against the most common disease-causing organisms often found in public transports, public areas, and hospitals, e.g., Flu, influenza A, H1N1, SARS, MERS, Coronavirus.
NOVIRUCLEAN RTU1/30 effectively cleans, deodorizes, and disinfects all hard surfaces, reducing bacteria, yeast, and virus contamination.
Seating Area
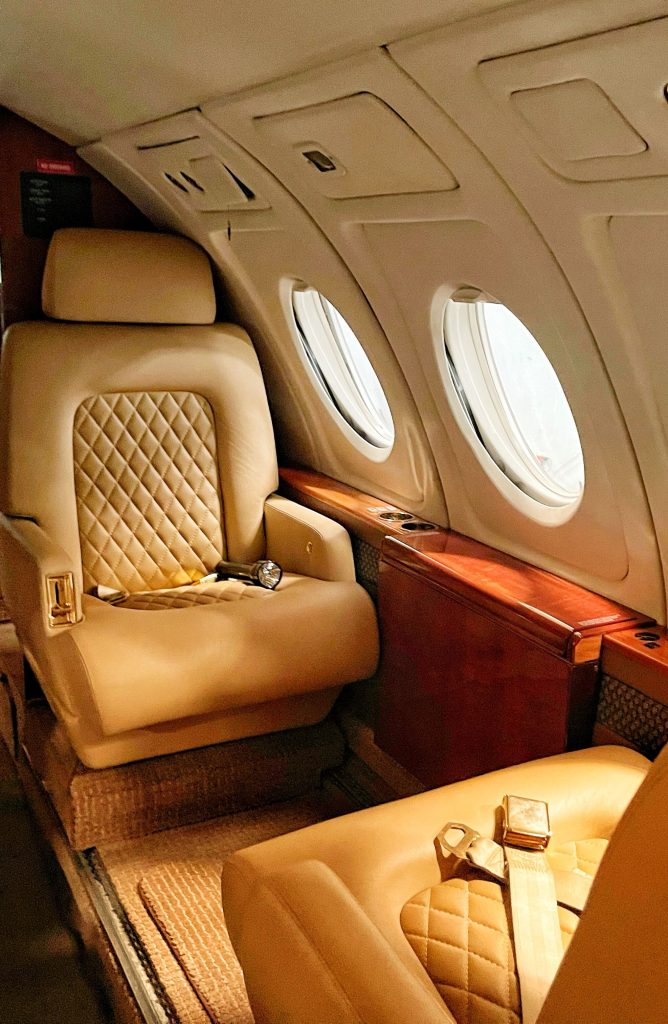
Prior to cleaning the seating area of the aircraft, it is vital to remove any loose debris. Begin by disposing of visible trash and then thoroughly vacuum the seats, divans, and surrounding area. If you come across any visible stains on the seats, utilise an appropriate upholstery cleaner or stain remover. Afterwards, apply an approved disinfectant spray or wipe on all aircraft surfaces.
Remember to pay attention to the tray tables as well. Clean them meticulously using a disinfectant wipe or spray, ensuring both sides of the tray table are wiped down, including the edges and latches. Lastly, clean the armrests and seat belts by using a disinfectant wipe. Cover all surfaces and pay close attention to any grooves or buttons.
ORAPI RECOMMENDS:
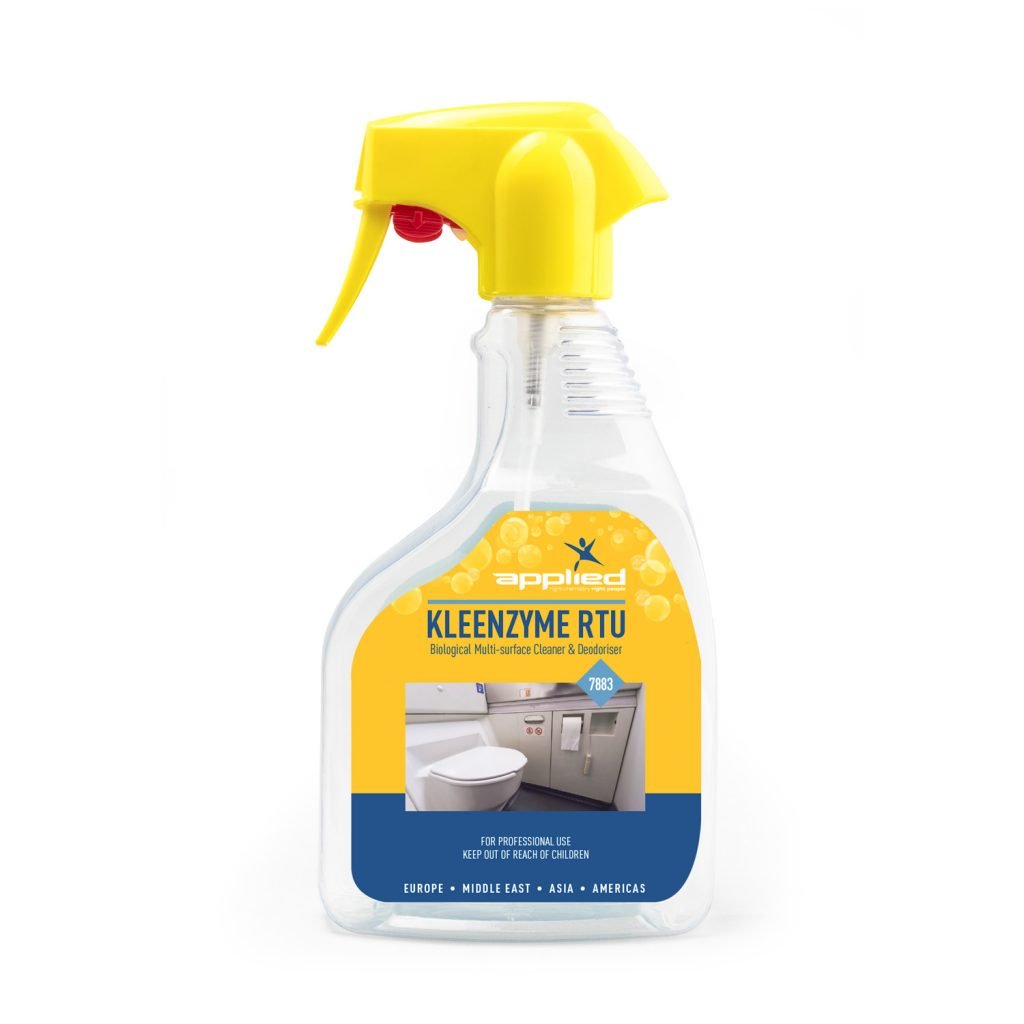
KLEENZYME is a technically advanced combination of microorganisms and soil-destroying enzymes with penetrants and surfactants that produce the ultimate safe cleaner and deodorizer for all surfaces.
KLEENZYME breaks down odor-causing organic matter instead of just masking it like what many air fresheners are designed for.
Ventilation
After cleaning, it is advisable to promote ventilation within the cabin by opening doors or windows. This will aid in eliminating any remaining odours or fumes that should not be confined indoors.
Private Jet Exterior
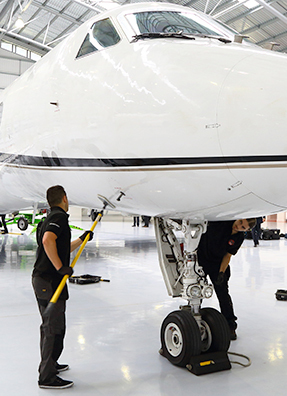
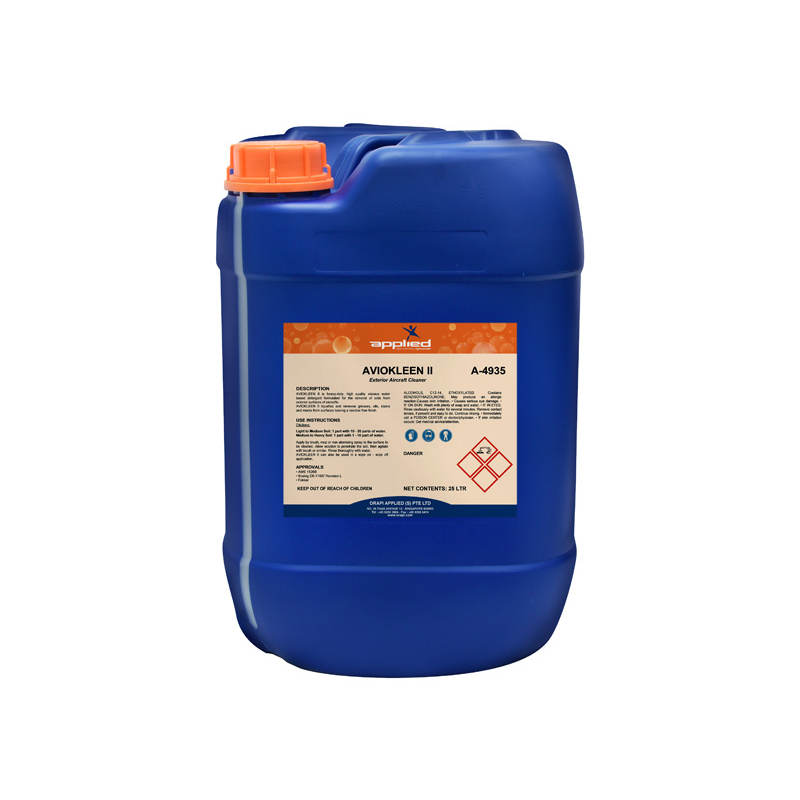
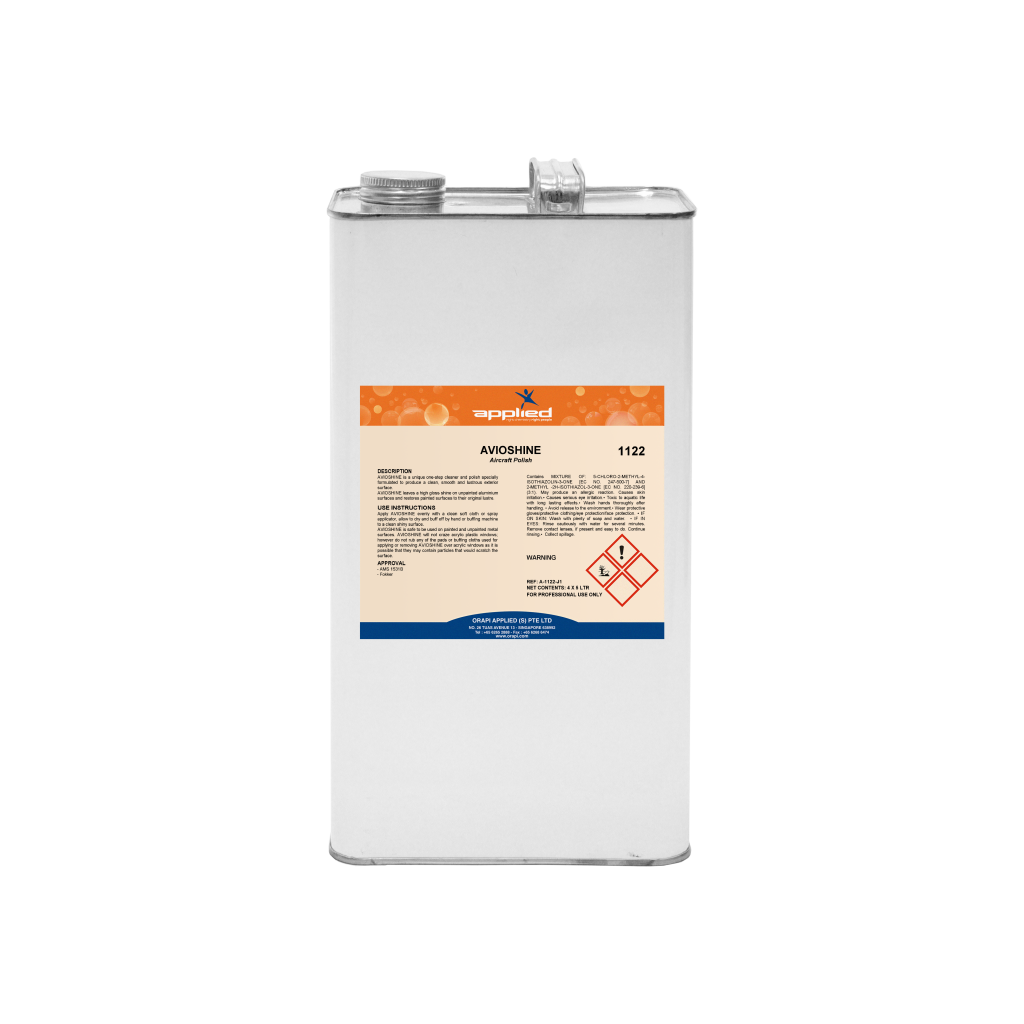
When it comes to private jet exterior cleaning, a systematic approach is essential to ensure a pristine appearance and maintain the aircraft’s integrity. The process begins with a thorough pre-wash inspection, carefully examining the jet’s exterior for any signs of damage, such as dents, scratches, or loose panels. Areas requiring special attention or those that should be avoided during the cleaning process are noted. Next, the chosen cleaning solution is prepared and applied to the surface using a brush, mop, or non-atomising spray. The solution is allowed to penetrate the soil before being agitated with a brush or similar tool. To complete the process, a thorough rinse with fresh water is performed, ensuring the removal of all soap or detergent traces from the aircraft’s exterior. Applying a specialised aircraft wax or sealant is optional but recommended for an added layer of protection and a dazzling shine.
ORAPI RECOMMENDS:
ORAPI RECOMMENDS:
Inhibitor Compound
A recommended approach is to utilise resin-impregnated wipes along with a robust and tear-resistant non-woven polyester substrate for effective cleaning of the inhibitor compound on private aircraft. This combination efficiently eliminates dust, dirt, fibres, and other pollutants from the prepared surfaces. Gently rubbing the wipe on the inhibitor compound activates the unique resin system, enhancing its absorbency and capacity to retain contaminants, thus ensuring a thorough cleaning process. Furthermore, these wipes are lint-free, guaranteeing that no additional debris is introduced, resulting in a clean and pristine surface.
In addition to the wipes, employing a powerful solvent-based cleaner is advisable to dissolve and eliminate various contaminants. To accomplish this, spray an adequate amount of the cleaner onto the surface, ensuring complete coverage, and allow a few seconds for the soil and grease to liquefy. Subsequently, apply a second round of the cleaner to remove any remaining dissolved or suspended soil. Finally, the surface can be wiped dry or left to air dry.
ORAPI RECOMMENDS:
Engine Overhaul
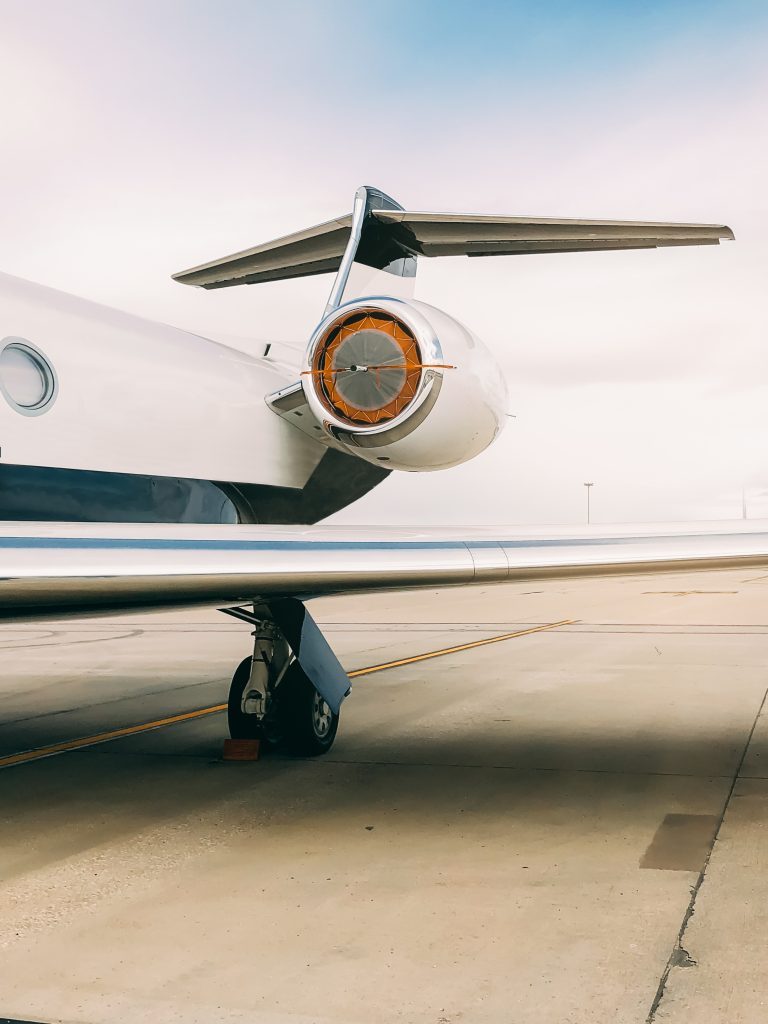
During an engine overhaul of private jets, it is crucial to thoroughly clean the aircraft turbine compressor to remove oils, greases, soot, salts, atmospheric contaminants, and other contaminants. This step is vital as these substances can negatively impact the engine’s performance and efficiency. Additionally, it is important to address the removal of rust, heavy carbon deposits, organic coatings, and heat-modified metallic oxides from various jet engine components. To achieve this, a concentrated acidic cleaner designed explicitly for rust removal from iron and steel, as well as a conditioning scale for subsequent removal treatment, is often employed. This cleaner effectively eliminates rust and helps prepare the surfaces for further cleaning. Lastly, the engine overhaul process includes the meticulous removal of complex metallic scales from the jet engine components, ensuring that all surfaces are clean and free from any debris or deposits that may hinder the engine’s optimal functioning.
ORAPI RECOMMENDS:
ENGIKLEEN is designed to remove rust, heavy carbon deposits, a host of organic coating and heat-modified metallic oxides from ferrous metals.
Component Overhaul
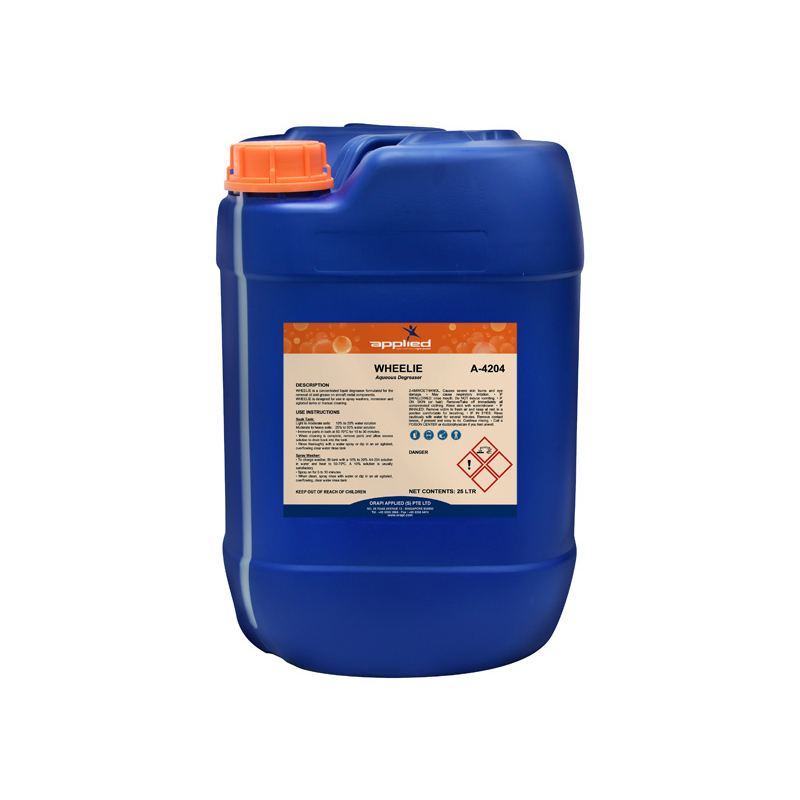
When cleaning the components of a private jet during an overhaul, it is essential to use the appropriate cleaning agents for effective and safe results. A wheel and brake cleaner is necessary for dissolving oil and grease from landing gears, wheel hubs, and bearings. This specialised cleaner is designed to tackle stubborn contaminants in these areas. A non-flammable cleaner is recommended when removing dust, oil, grease, and general soil from component and engine parts. This ensures the safety of the cleaning process while effectively eliminating these substances. For thoroughly cleaning and degreasing aircraft metal components, a fast-drying solvent containing a blend of hydrocarbon solvents and cleaning agents is ideal. It efficiently removes dirt and grease, leaving the metal surfaces clean and ready for inspection. Additionally, in cold tank applications, silicone removers can effectively remove adhesives from aircraft components, ensuring they are free from unwanted residues.
ORAPI RECOMMENDS:
Focus on the Task

Establish a comprehensive Task Calendar encompassing all the sporadic household chores that need attention. These tasks range from simple activities like rotating linens and polishing silverware to more complex undertakings such as arranging deep carpet cleanings. Some jobs require bi-weekly attention, while others may only be necessary twice a year. By prioritising completing 1-2 tasks each month, you can devise a custom Task Calendar that aligns with your aircraft’s schedule and requirements. This approach ensures that all your diligent efforts in maintaining the cabin are meticulously documented and easily traceable.
Final Inspection
In addition to conducting a visual inspection of the cleanliness of the cabin, we recommend that you take the opportunity to sit in your client’s preferred seating area, observe the surroundings, and experience the cabin from their perspective. This will allow you to assess whether everything appears satisfactory from the client’s point of view.
Jet Cleaning Checklist
When cleaning private aircraft, it can be easy to overlook certain things, especially certain inconspicuous areas, but it is important to remember that once a client has witnessed a speck of dirt or a tiny streak, it can ruin the business’s reputation altogether. This is why we have prepared the private jet cleaning checklist. Refer to this checklist when you are cleaning your private jets and aircraft, and you are sure to leave every nook and cranny looking spick and span:
Entryway
- Entryway railing
- Entryway handles
- Acoustical door
- All latches
- All light switches, PCUs, and touchscreens
- Cup holders
Lavs
- Sink
- Countertop
- Faucet and handles
- Towel bar
- Soap and moisturiser dispensers
- Drawer handles/latches
- Toilet
- Trash receptacle
Galley
- Disinfect all areas
- Countertop
- Drawer faces and latches
- Coffee and tea pots, kettles, handles
- Nespresso machine
- Microwave
- Oven handle
- Pilot trays
- Sugar caddies
- Salt and pepper shakers
- Placemats
- Napkin rings
- Extra attention to dishes and silverware washing
Cabin
- Tray tables (forward club seats, conference table, aft club)
- Cupholders
- Armrests
- Seats
- iPods/iPads/headphones/tech
- Seat monitors
- Remotes
- Phones
- Side ledges
- Magazine rack
- Snack basket
- Briefing cards
- Cargo handles
- Storage containers
Cockpit
- Side walls
- Cupholders
- Lower side rails
- Headsets
- Centre console
- Any hard, wipeable surface
Conclusion
In conclusion, private jet cleaning is crucial to providing a luxurious and safe travel experience. The meticulous cleaning procedures outlined in this article demonstrate the importance of adopting efficient approaches and utilising appropriate cleaning techniques for different surfaces. Following the comprehensive checklist, industry professionals and private jet travellers can appreciate and implement the rigorous cleaning process, ensuring a pristine environment. From the cabin to the exterior and even engine components, attention to detail and the use of recommended cleaning products are essential. Private jet cleaning goes beyond regular maintenance, guaranteeing exceptional comfort, hygiene, and satisfaction for elite passengers.
Complete list of Aircraft MRO + Cleaning Products under 1 Download
