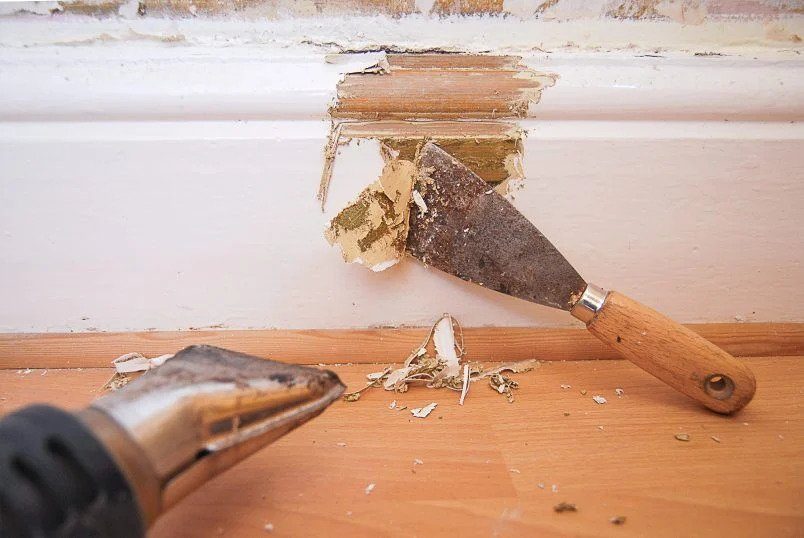
When attempting to remove paint from an exterior wall or surface, it may be tempting to use aggressive methods such as power washing, sandblasting, or wire brushing. However, these techniques can come at a high cost as they pose a significant risk of damaging your brickwork and other surfaces, leaving them vulnerable to the elements. In addition, the damage caused to your brickwork and exterior walls can not only be expensive to repair but also result in dampness within your building structure. To avoid such complications, we offer tips on the best practices for removing paint from brick and wood, along with information on the different types of paint strippers designed for this task.
Types of Paint Strippers
Solvent-Based Paint Strippers
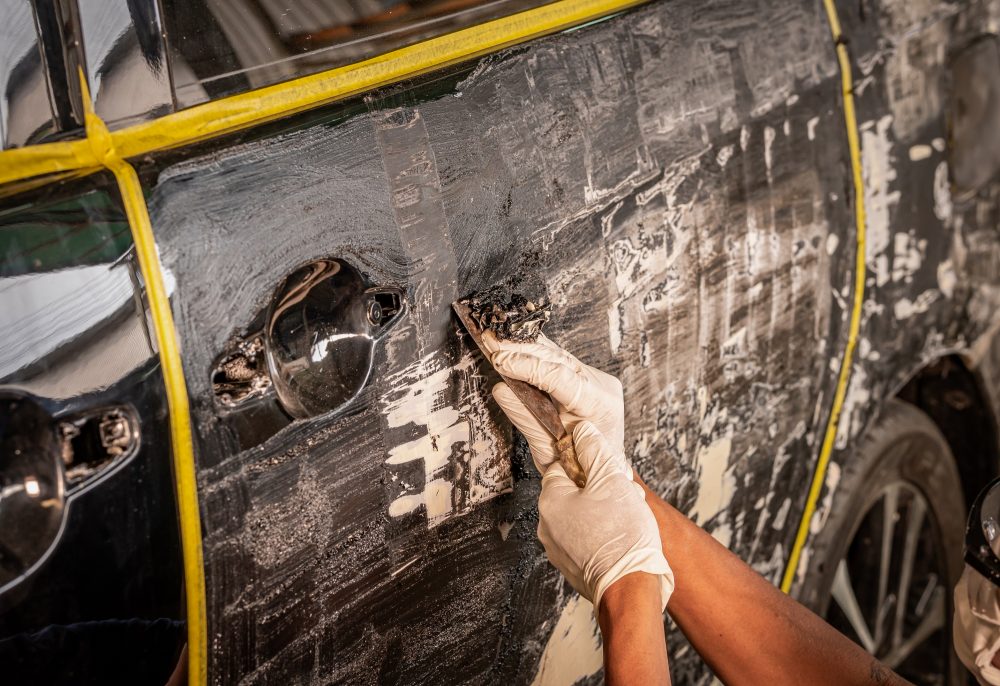
Paint can be removed from a surface by utilising solvent-based strippers, which dissolve or soften the bond between the coating and the substrate, resulting in the paint bubbling up. The most commonly used solvent for this purpose is methylene chloride, but other solvents such as alcohol, toluene, acetone, and ketones are often incorporated as well.
Caustic-Based Paint Strippers
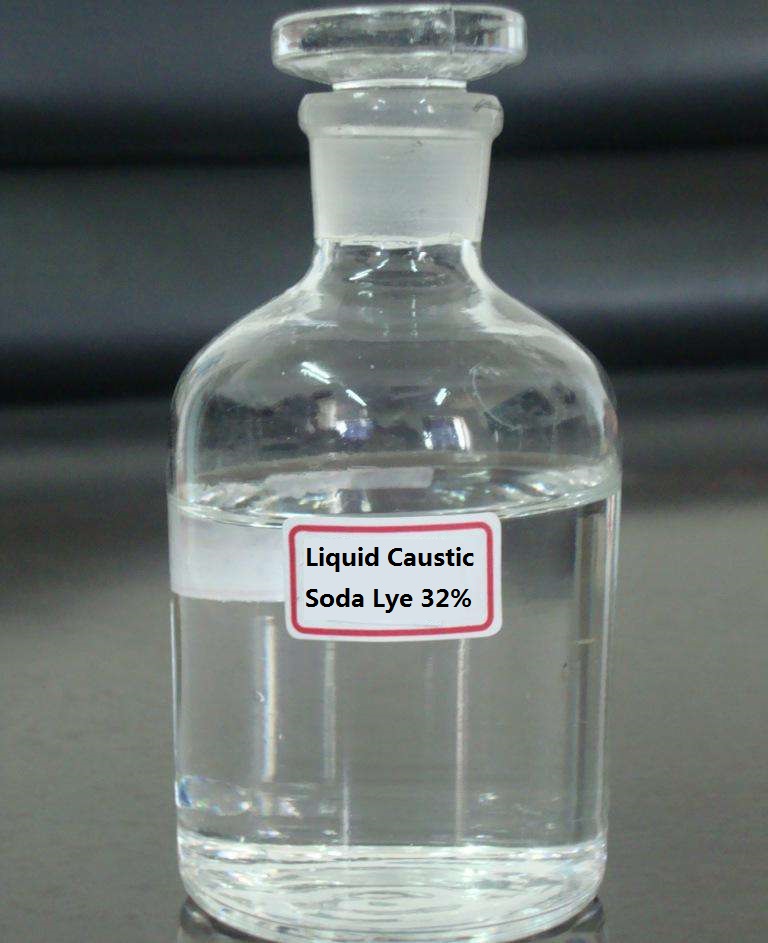
Caustic strippers are water-based with a pH range of 13 to 14 and contain lye as their active ingredient, which can be either potassium hydroxide or sodium hydroxide. In these types of strippers, the lye reacts with the oily component of the paint film, transforming it into soap and loosening it from the surface.
Health and Safety

It is essential to be mindful of basic health and safety precautions when using any paint stripper, as these products contain chemicals that can pose inherent risks. Here are some important considerations to bear in mind while handling them:
- Always read the labels and technical and safety data sheets. Each paint comes with its description but also its risks. Do not gamble with your health and safety.
- Inhalation of these chemical fumes can be detrimental to your health. When working indoors, always work in well-ventilated areas and wear breathing apparatus where appropriate.
- Take care to avoid skin contact. Paint strippers can irritate your skin and can occasionally cause more than just a rash. Wear suitable gloves and other protective clothing.
- Protect your eyes and ensure no paint stripper gets into them, as it can cause severe damage.
- Do note that the more complex formulations are not flammable.
- Wear a respirator designed to exclude solvent vapours, and make sure that they supply filtered compressed air from your compressor—Don safety glasses and neoprene or butyl gloves.
- If you must work indoors, stay within the 25 ppm exposure limit for methylene chloride.
- The air in the room must change 7-10 times an hour. To accomplish this, arrange a fan behind you, so the air carries the vapours away from you and out a window, not toward you.
- Generally, paint strippers are highly flammable, so keep them away from open flames.
- Finally, if you’re using a flammable stripper, make sure the pilot lights of nearby gas appliances are out.
Matching the Paint Stripper to the Job
Methylene chloride and caustic strippers effectively remove alkyd and latex paints. However, methylene chloride is slightly better at removing epoxies and polyurethanes. On the other hand, caustic strippers are more effective than solvents on alkyds, but they can darken wood and damage aluminium. Caustics also need to remain on the surface for longer, so they might not be the best choice for every job. Be mindful of the temperature, too; caustic strippers won’t work well below 10°C. And, of course, proper ventilation is crucial, especially if you’re working with methylene chloride.

ORAPI RECOMMENDS:
Paint Stripping Tips
Methods and Equipment Considerations
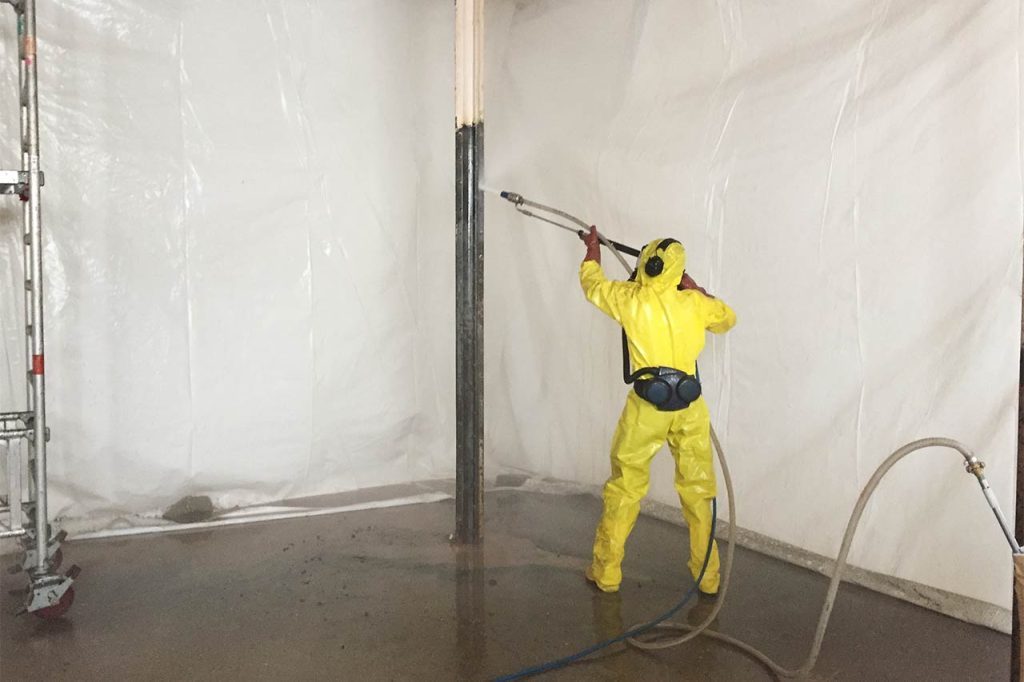
Strippers can be applied using various methods such as brush, roller, hand spray bottle, or sprayer, depending on the product consistency and area to be covered. However, it’s important to note that both solvent-based and caustic-based strippers can damage the rubber, leather, and aluminium parts of a sprayer. In such cases, sprayers can be fitted with neoprene or polyethene replacements for rubber components and stainless steel replacements for aluminium.
Removing Paint Stripping Residue
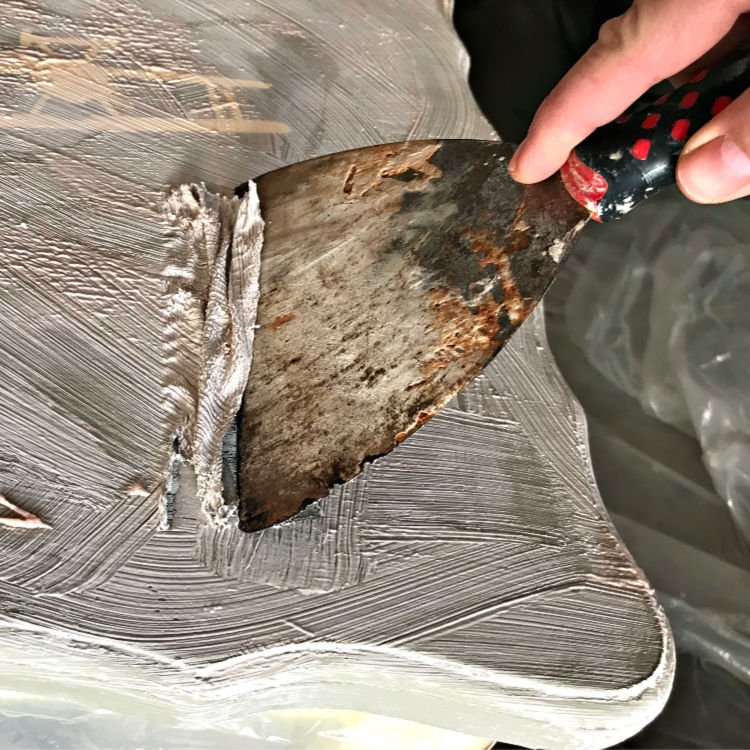
Once the stripper has been applied, it’s essential to leave the area completely and refer to your test patches to determine the appropriate wait time. When removing the residue, use a flexible-bladed drywall knife to scrape it into a plastic bag or paint container. Remember to dull the knife’s edge and round off the corners with a file to minimise the risk of gouging the surface. Unlike steel wool, a plastic scrubber is an effective tool to remove the remaining residue from wood pores without leaving behind rusty fibres.
Considerations for Porous Substrates and Caustic Strippers
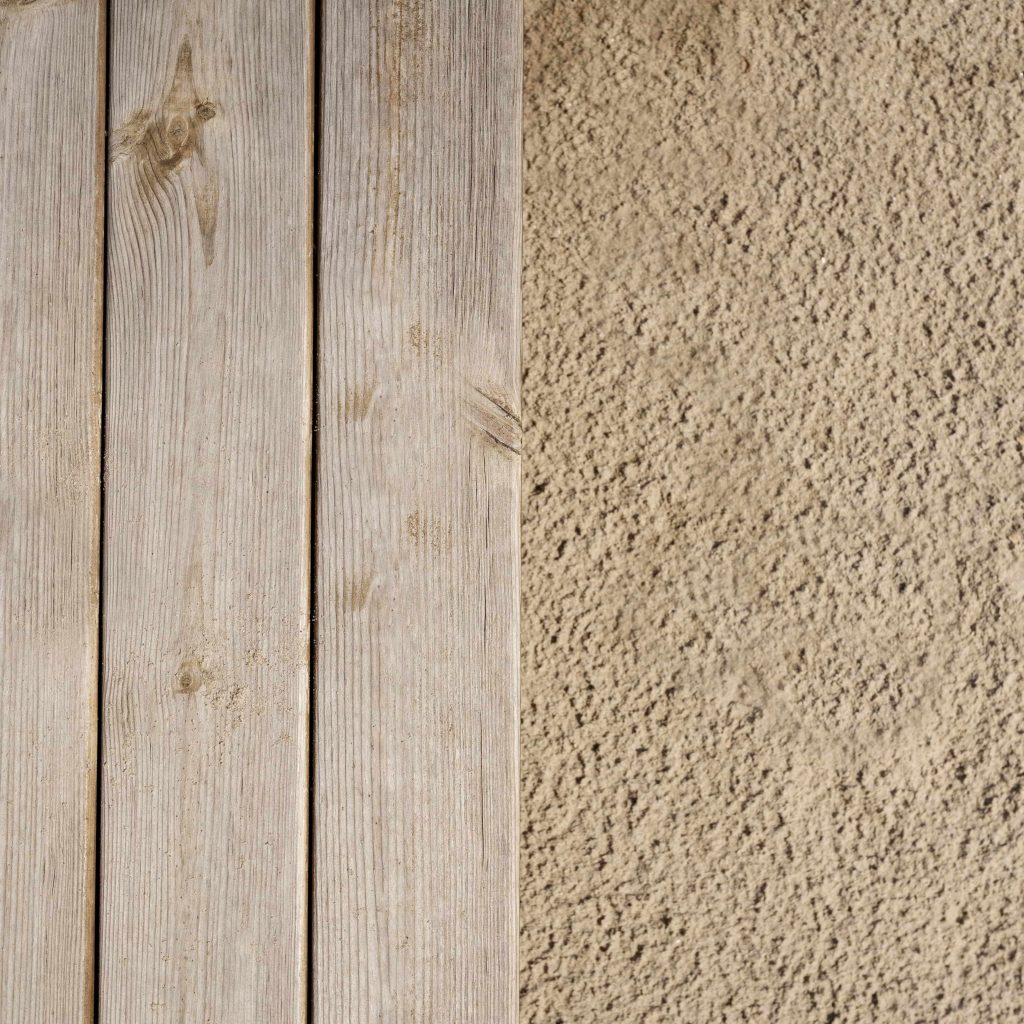
When using caustic strippers on porous substrates like wood or concrete, it’s essential to bear in mind that these materials will absorb alkaline material from the stripper. Despite neutralising the surface, the absorbed material can still bleed to the surface over time. To prevent any potential bleeding of absorbed alkaline material, it is advisable to neutralise the surface to pH 7, allowing for a few days of rest, and then double-check the pH before proceeding with painting. This precaution can ensure that the surface is completely neutralised and ready for a new coat of paint.
Proper Drying and Moisture Control Before Painting
To ensure a successful paint job after using a stripper, it’s crucial to dry the surface thoroughly before proceeding with further preparation and painting. Depending on the climate, this can take up to a week or more, so it’s important to be patient. Investing in a moisture metre can be helpful in determining the exact moisture content of the surface. For example, a surface with 15 per cent water content is too wet to paint, while 12 per cent is considered ideal. It’s worth noting that woods like cedar, cypress, and redwood contain water-soluble material that can bleed through the paint if the surface is damp. In such cases, it may take 60-90 days for the wood to dry completely.

Proper Disposal of Paint Stripping Waste
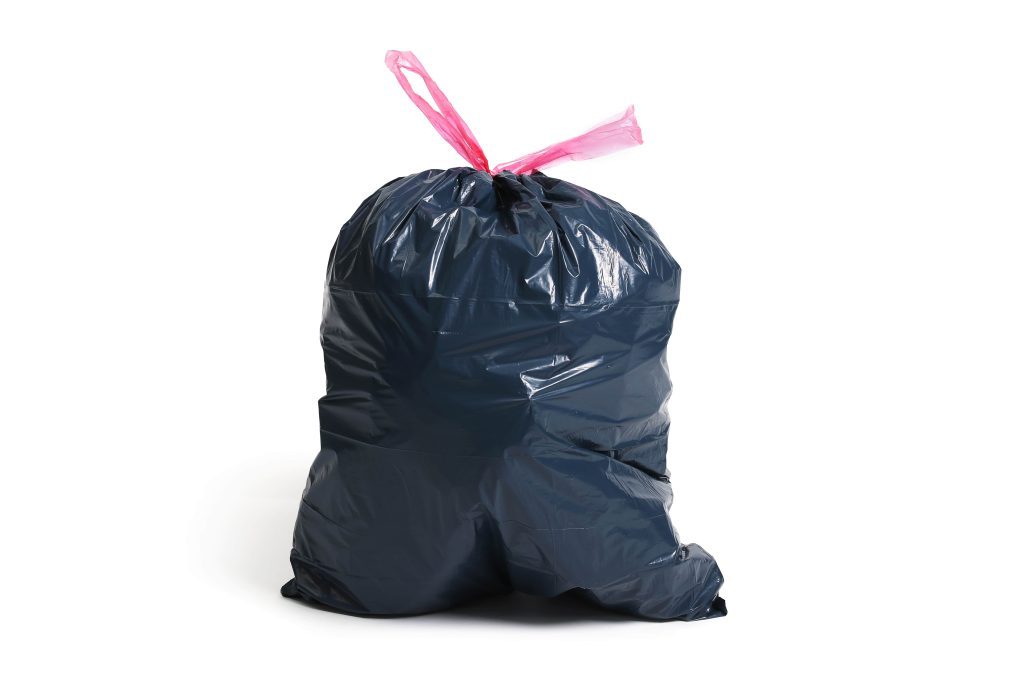
Paint-stripping waste typically contains chemicals and substances that can be hazardous to the environment and human health, so it’s important to dispose of it properly. Here are some general guidelines for disposing of paint-stripping waste:
- Check with your local authorities: Due to the varying environmental regulations in different locations, it is advisable to contact your local authorities or waste management department to determine the proper method of disposing of the residue generated during the stripping process.
- Use a designated hazardous waste disposal facility: Most communities have a designated hazardous waste disposal facility that accepts paint-stripping waste. These facilities are equipped to handle hazardous materials safely.
- Label and package the waste properly: When disposing of paint-stripping waste, make sure to label the container clearly as “hazardous waste” and package it properly to prevent leaks or spills. Use a container made of materials that can safely contain the chemicals in the paint-stripping waste.
- Do not pour the waste down the drain: Never pour paint stripping waste down the drain, as it can contaminate water supplies and harm aquatic life.
- Do not mix waste: Avoid putting stripping waste in a metal paint can or mixing waste from different jobs in the same container, as unpredictable reactions may occur.
Conclusion
In conclusion, removing paint from exterior surfaces such as brick and wood requires careful consideration of the products used and the appropriate safety measures. While solvents and caustic-based paint strippers are effective, they may also pose health risks and can cause damage to the surface if not used properly. Therefore, it is essential to read the labels and technical and safety data sheets before using any paint stripper, wear appropriate protective gear, and work in well-ventilated areas. It is also important to match the type of paint stripper to the job and to responsibly dispose of the stripping waste. By following these guidelines, you can remove paint from exterior surfaces safely and effectively while minimising the risk of damage or health hazards.


